Published on October 22, 2018
Ideal Way to Create a Fastai Instance
Play Now
Fast.ai is pretty cool and I've wrote about it here. One of its requirements is to have a Nvidia GPU. There are a couple of options out there.
Some options are very simple to use but may be expensive. Some options are very flexible to work with but are hard to set up and manage.
I wanted something better. This is a result of that.
At the end of this post, you will be able to:
- create a node with the Tesla p100 GPU for just $0.53/hour
- create a node with the Tesla K80 GPU for just $0.2/hour
- create a node with No GPU for just $0.01/hour
- switch between these nodes whenever needed
- install new tools and save data (won't get deleted when switching)
- run notebooks by just starting the server (no SSH needed)
- create a password protected jupyter notebooks environment
For all of these, you just need to run a set of commands initially. After that, it's just a single command to start the fastai node.
Before We Begin
Here we will be using preemptive instances (spot instances) from Google Cloud. Basically, they will last a maximum of 24 hours and could be killed at anytime. These instances are very cheap.
We are not running production models here, so we can live with those limitations and benefit from the cost advantage.
To use this, you need to create a Google Cloud account and enable billing. Once you've done that, start a Google Cloud shell for your account by visiting this URL or clicking the cloud console button as shown below:
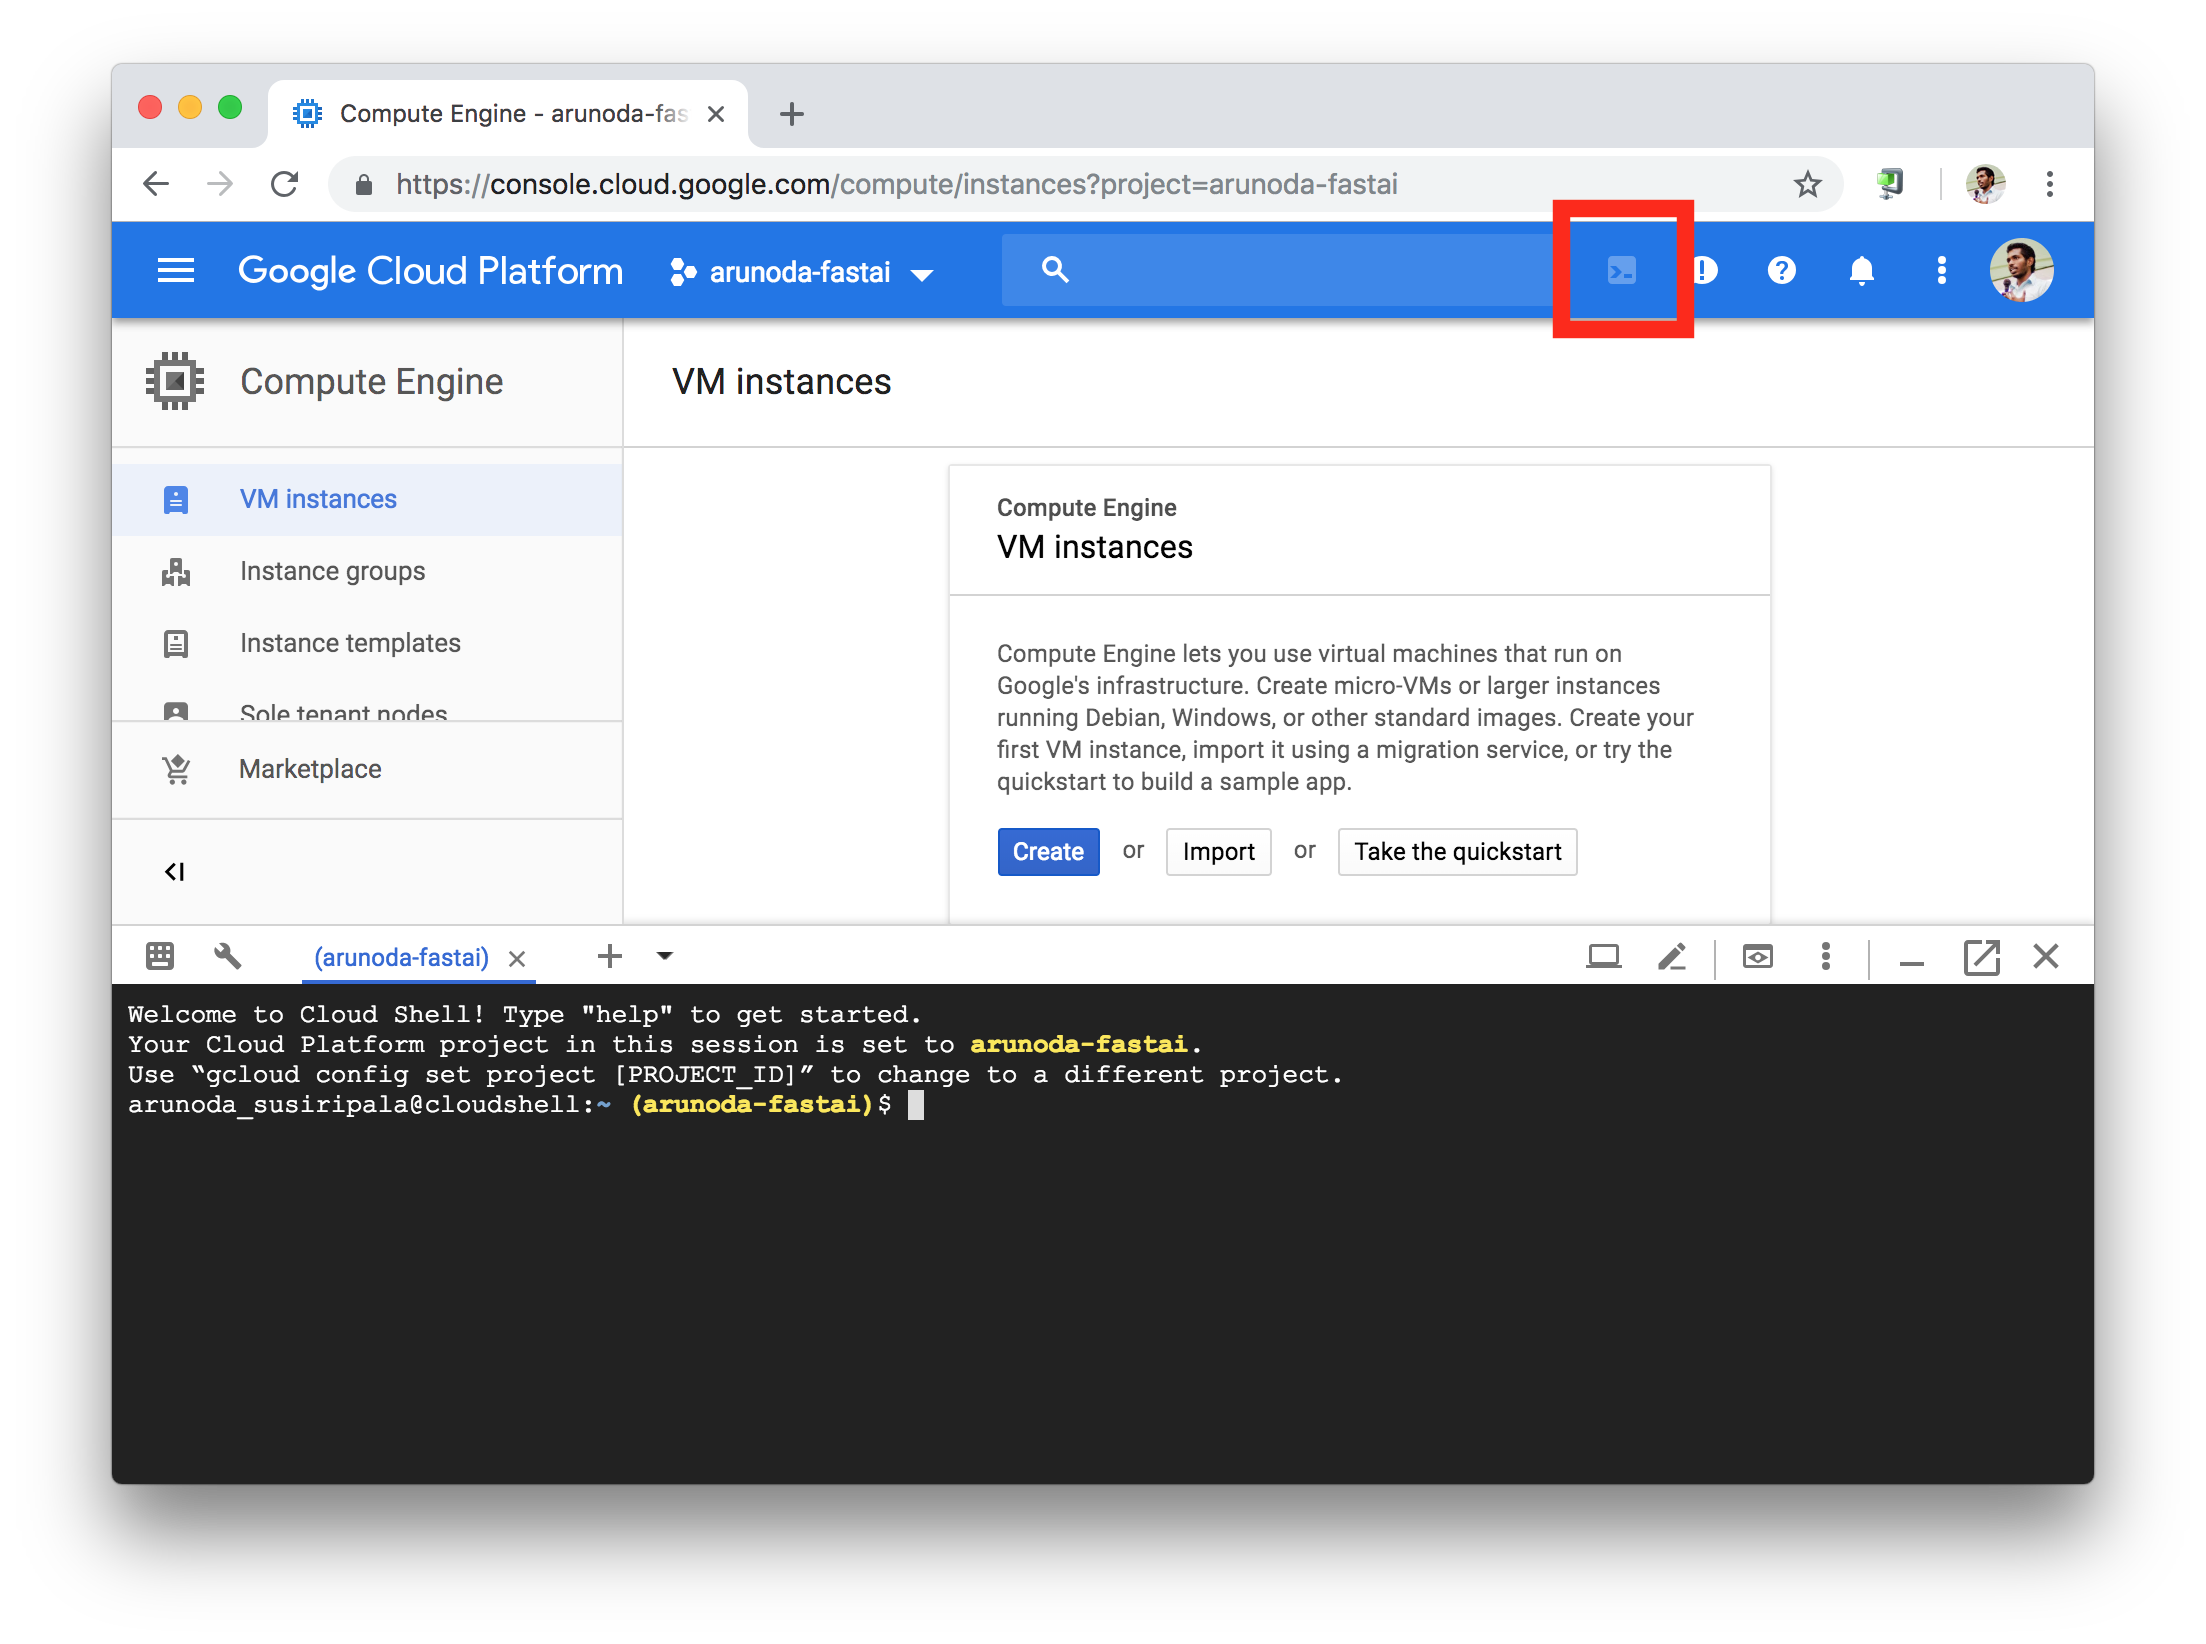
Click the console icon marked with the red square to start the shell
We'll be using that shell to invoke the commands mentioned below. You don't need to set up anything locally.
The Network
We need to create a network for our nodes so we don't interfere with other nodes in your account.
First, let's create the network itself:
Then we need to add a firewall rule to open ports:
The Boot Disk
Now we are trying to create our boot disk. For that, we need to create a small temporary VM. For that, run the following command:
SSH into that box by typing the following command:
Now run the following commands to set up the disk:
This will take around 30 minutes to complete. After that, it will reboot the machine. Once it's rebooted, SSH again with the following command:
Configure Jupyter
Now we need to set a password for our jupyter setup. To do that, run the following commands:
Now close the SSH session by typing:
We don't need our temporary VM anymore. Let’s delete it:
Create The Fastai Node
Now everything is ready. We can create a node with one of the following types. Select an option you like and apply the command in the cloud shell:
1. POWERFUL GPU ($0.53/HOUR):
This is a setup with Tesla p100 GPU, 8 vCPUs and 30GB RAM.
2. STANDARD GPU ($0.2/HOUR):
This is a setup with Tesla k80 GPU, 4 vCPUs and 15GB RAM.
3. NO GPU ($0.01/HOUR)
This doesn't have a GPU, but it is great for management tasks like downloading data and creating notes.
After creating the VM, you will get an external IP.
simply visit http://external-ip:8888 to start working with your notebooks.
simply visit http://external-ip:8888 to start working with your notebooks.
Deleting The Node
After you are done with your notebooks, simply delete the VM by typing:
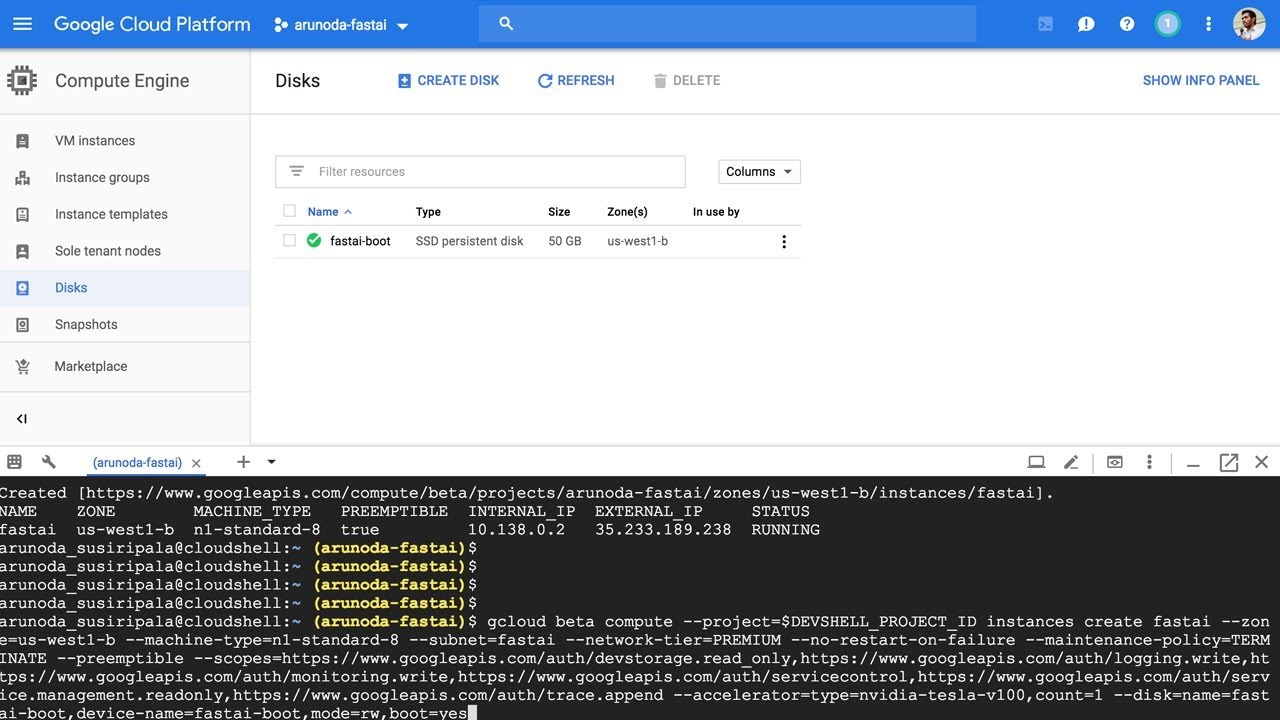
You can also delete the instance (named as fastai) via the Google Cloud UI.
Deleting the VM won't delete the boot disk we created.
so we won't lose any data or tools that were installed.
so we won't lose any data or tools that were installed.
Usage
After you've deleted the instance, you can start it with a different type of an instance and continue learning.
Currently, I have included only three types of instances. But we can create different types by mixing GPUs, CPU cores and Memory.
(You can customize above commands for that.)
(You can customize above commands for that.)
In addition to the computing power, you'll be charged $8/month for the SSD boot disk.
Let's Learn
Okay, now that we've covered our fastai node and have spent plenty of time working on the tooling.
Now it's time to dive into the world of deep learning.