Published on October 30, 2018
Getting Started with fastai Deep Learning Framework
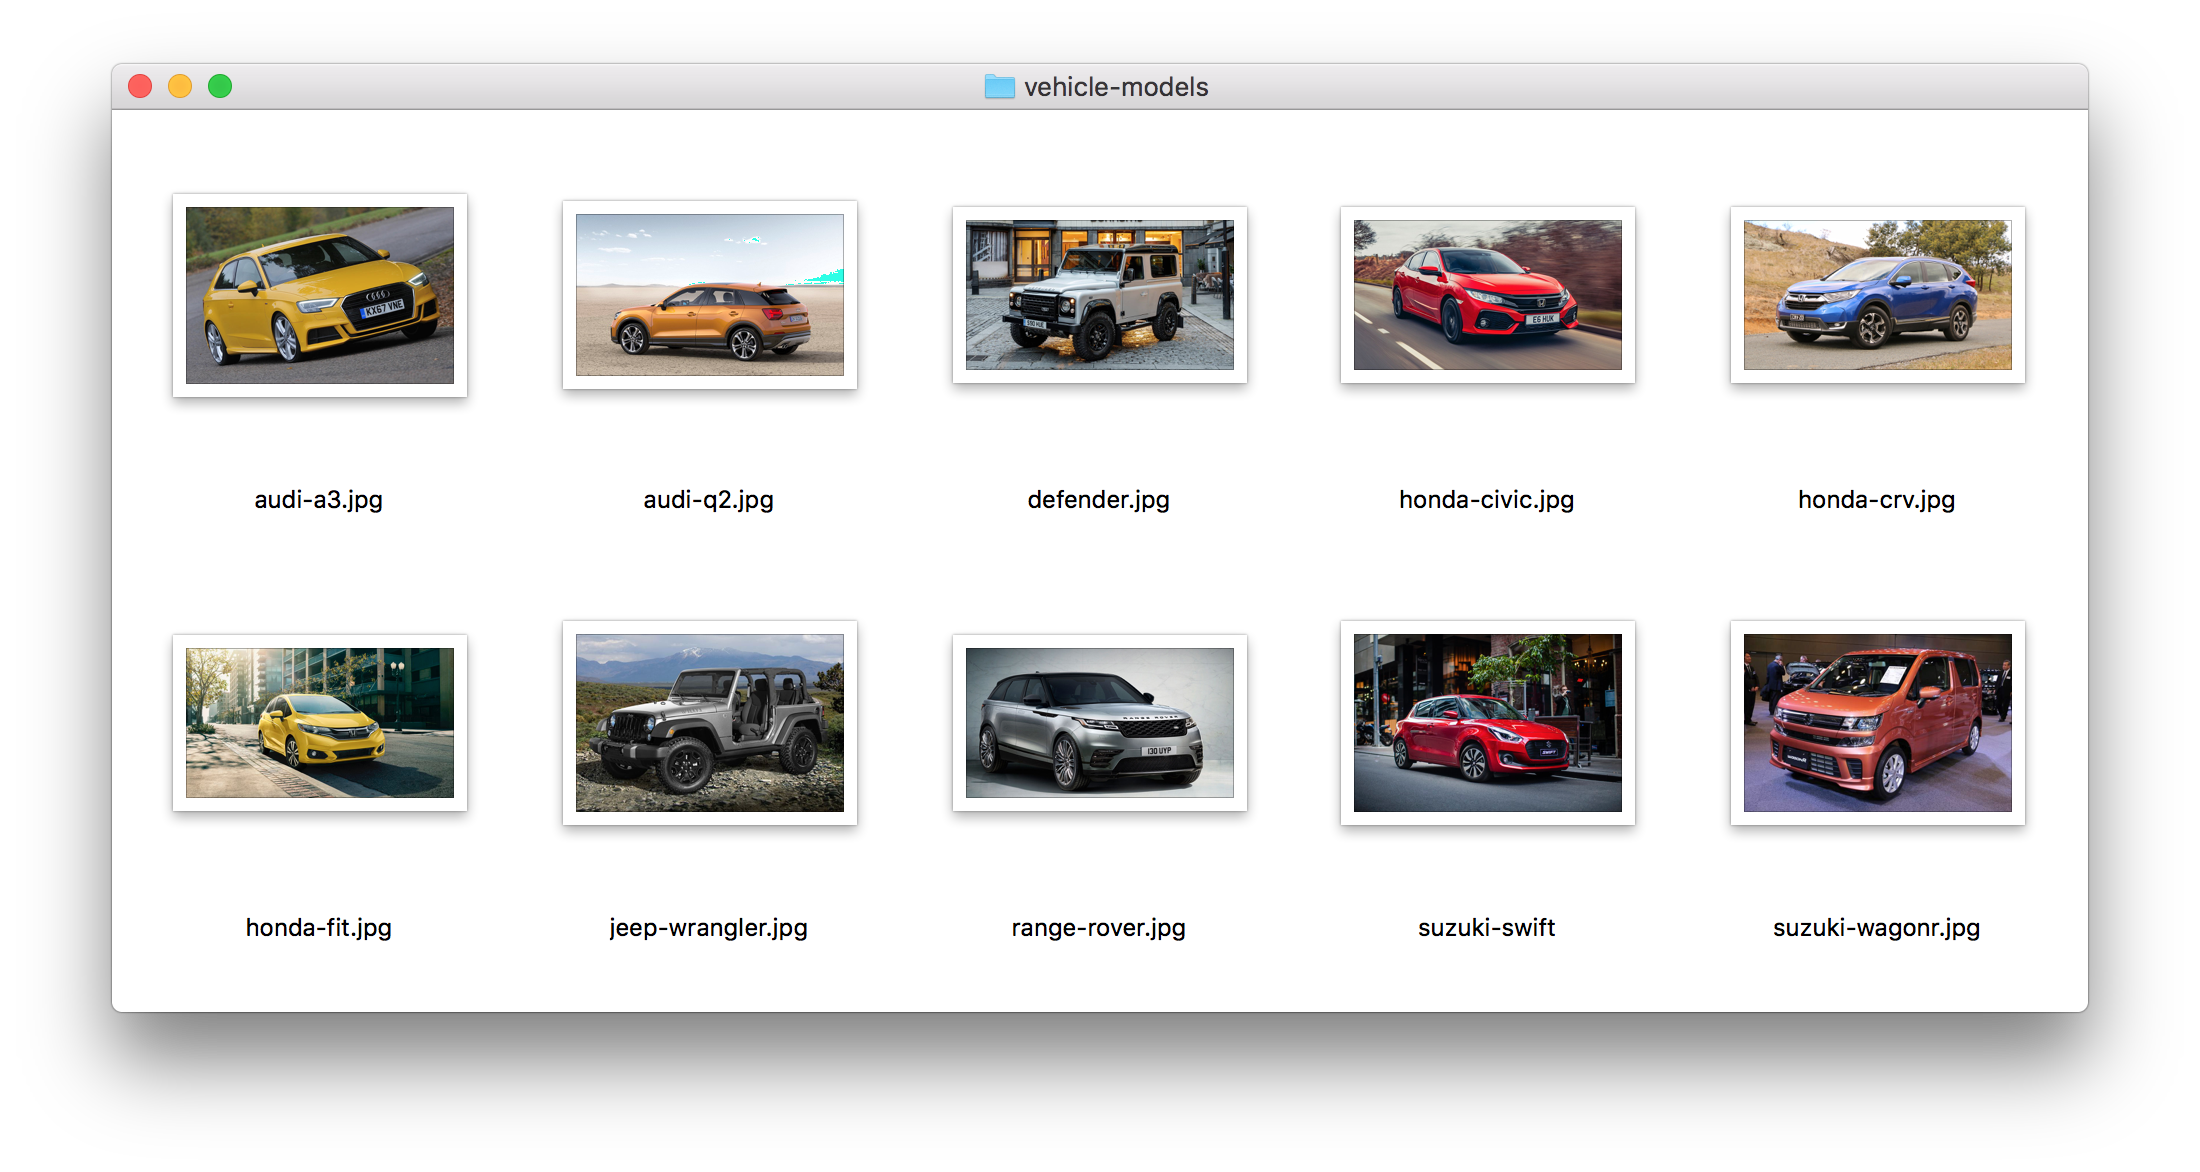
This is my experience on using fastai to create a deep learning classifier which could differentiate between ten different vehicle models with the accuracy of 98%.
This is not something groundbreaking. The interesting thing is that I just did it with a little amount of code and using some common sense.
A few years ago, this could be a Ph.D. research.
Preparing the Dataset
First of all, I needed some images. Google was my friend. I used this tool to download a set of images from Google. Here's the complete command I used:
With this command, it downloads 20 images for both “Honda Fit” and “Jeep Wrangler.” Just like that, you can list as many keywords as you want.
For the final dataset, I've downloaded 150 images for each keyword.
Then, I browsed through the downloaded images and removed images which were not relevant. After that, I resized these images to the size that I was going to use in my classifier. (Which is 224px * 224px).
For that, I used a simple bash script, which utilizes ImageMagick.
Actually, you really don't need to resize these images. But my internet connection was very slow. So resizing helped me to upload them quickly.
Then I created a tarball with these images:
I uploaded the resulting tarball into a GitHub release, so I could easily use them in my notebooks.
In the rest of this post, I'm using some fastai-related code. If you need to run them, you will need a machine with a Nvidia GPU.
Here's my guide on how to build such an environment using Google Cloud Platform.
The Notebook
Here, I'm using an interactive development environment called Jupyter notebooks. A notebook is just like a blog post, but with some code blocks and output of those. It's the de-facto standard in data science related projects.
Since we have the notebook, I won't mention each and every step I did. But If you like to follow along, here's the notebook. If you have a fastai setup, you can clone this repo and run this notebook.
Initial Model
As per the first step, I used an already build model called "resnet34". Basically, it's a publicly-available model which is pre-trained for a huge amount of images.
So, instead of building my classifier from scratch, I can build it on top of resnet34.
Basically, it's like teaching a kid to identify these vehicles who already knows the difference between a car and bus.
In order to do that, I run the following code:
Here's the result of this:
This model trained for four times with our dataset. In the end, it gave us an error rate of 20%. That means, it incorrectly identified 20% of the images on the validation set.
Validation set is a set of images which we don't use to train this classifier. We can run the trained classifier with that set and validate the accuracy of our classifier.
An error rate of 20% is not bad to start with, but we can do better.
Unfreezing
This pre-trained model "resnet34" has 34 layers. But we only trained it with the last layer. With unfreezing, we can train our images with all the layers. Hopefully, we can get a better result.
It doesn't always give us a better result, but we can always try.
Before that, we need to find the learning rate for our model. For that, run the following command:
It will give us the following graph.
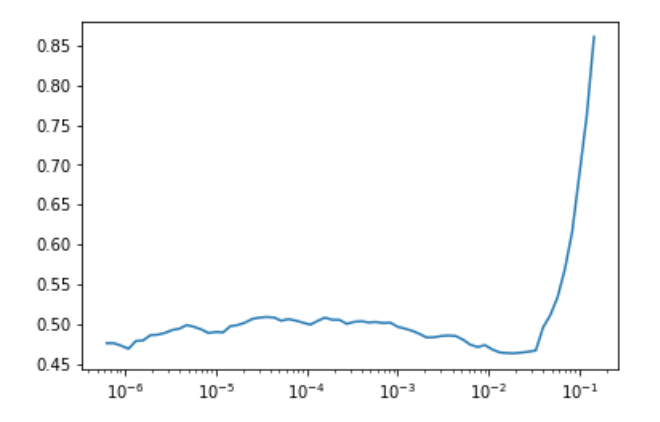
Learning rate is a constant which affects the performance of the model. If it's higher, it'll train faster, but it might lead to incorrect results. If it's lower, it'll be slower, and we might not get the result.
By default, Fast.ai uses a good default learning rate. But with the unfreezed model, it's better to specify a range of learning rates manually.
For that, we select a range which has a downward slope from the above graph. In this case, it's 10^-4 to 10^-2. Now we can train again:
This gave us an error rate of 11%. So, this is a good improvement from the 20% error rate which we had before.
With resnet50
This is also a pre-trained model like resnet34 but with 50 layers. Hopefully, this would give us better results.
This gave us an error rate of 17% and 13% after unfreezing.
It's not a significant improvement. It seems like I am doing something wrong here.
Using Square Images
Usually, a picture of the vehicle is a rectangle. But when we are training the classifier, we need to give it a square. So, fastai automatically crops images like this:
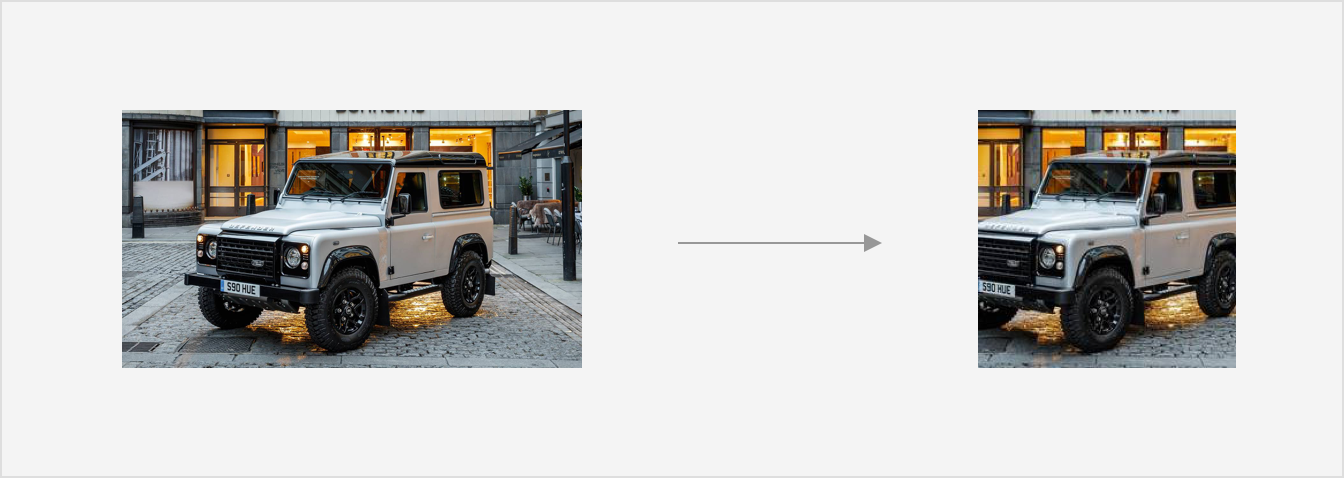
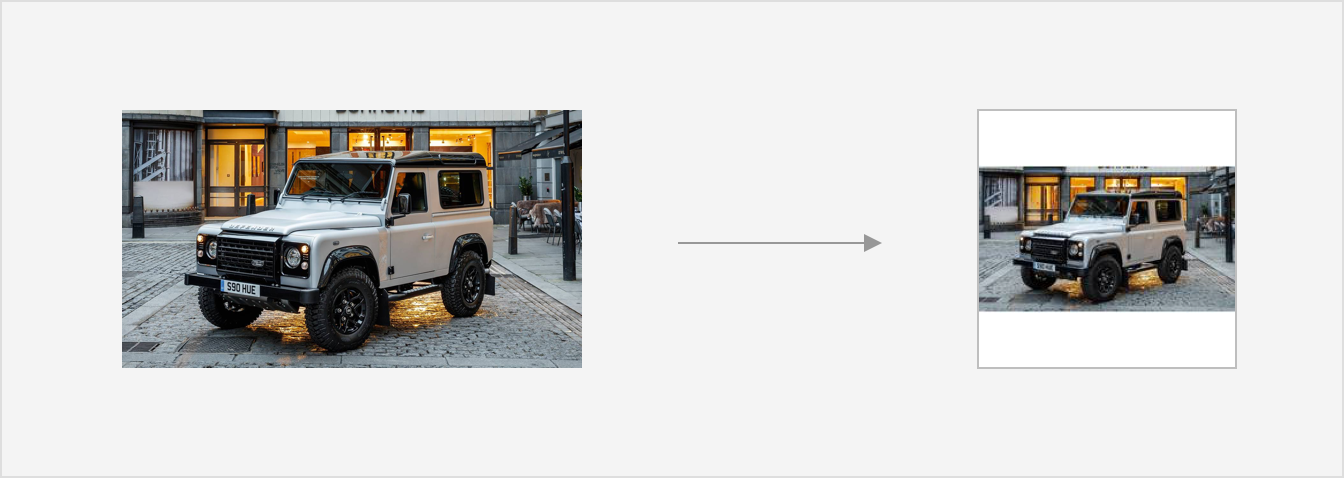
As you can see, we are not feeding the whole vehicle to the classifier. I thought that's the problem. So, I resized these images as a square, like below:
To resize, I use the following code:
I ran this dataset against both resnet34 and resnet50. The result is worse than before.
It could be due to the lack of details of the image. Even though my classifier could see the whole vehicle, it had more white space due to the way I resized these images.
With Multiple Crops
I certainly believed there was something wrong with my dataset. Instead of making a square image as before, I asked myself: what if I could create multiple crops which covered the whole rectangle.
Have a look at the example below:
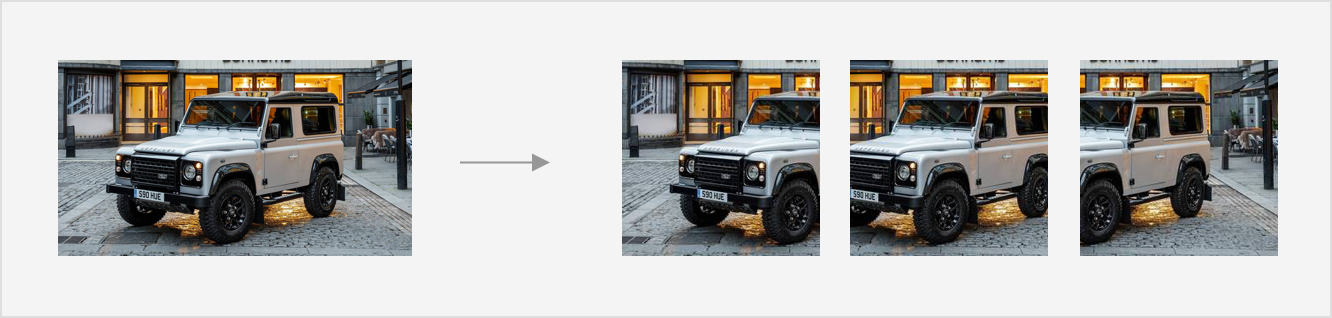
With that, I could feed more details into my model with the same set of images I downloaded. With that approach, I created a new dataset with the following resize script:
As expected, I received an error rate of 3% with resnet34 and 2% with resnet50.
This version of the classifier did a very good job with an accuracy of 98%.
Here's the set of images our classifier predicted incorrectly:
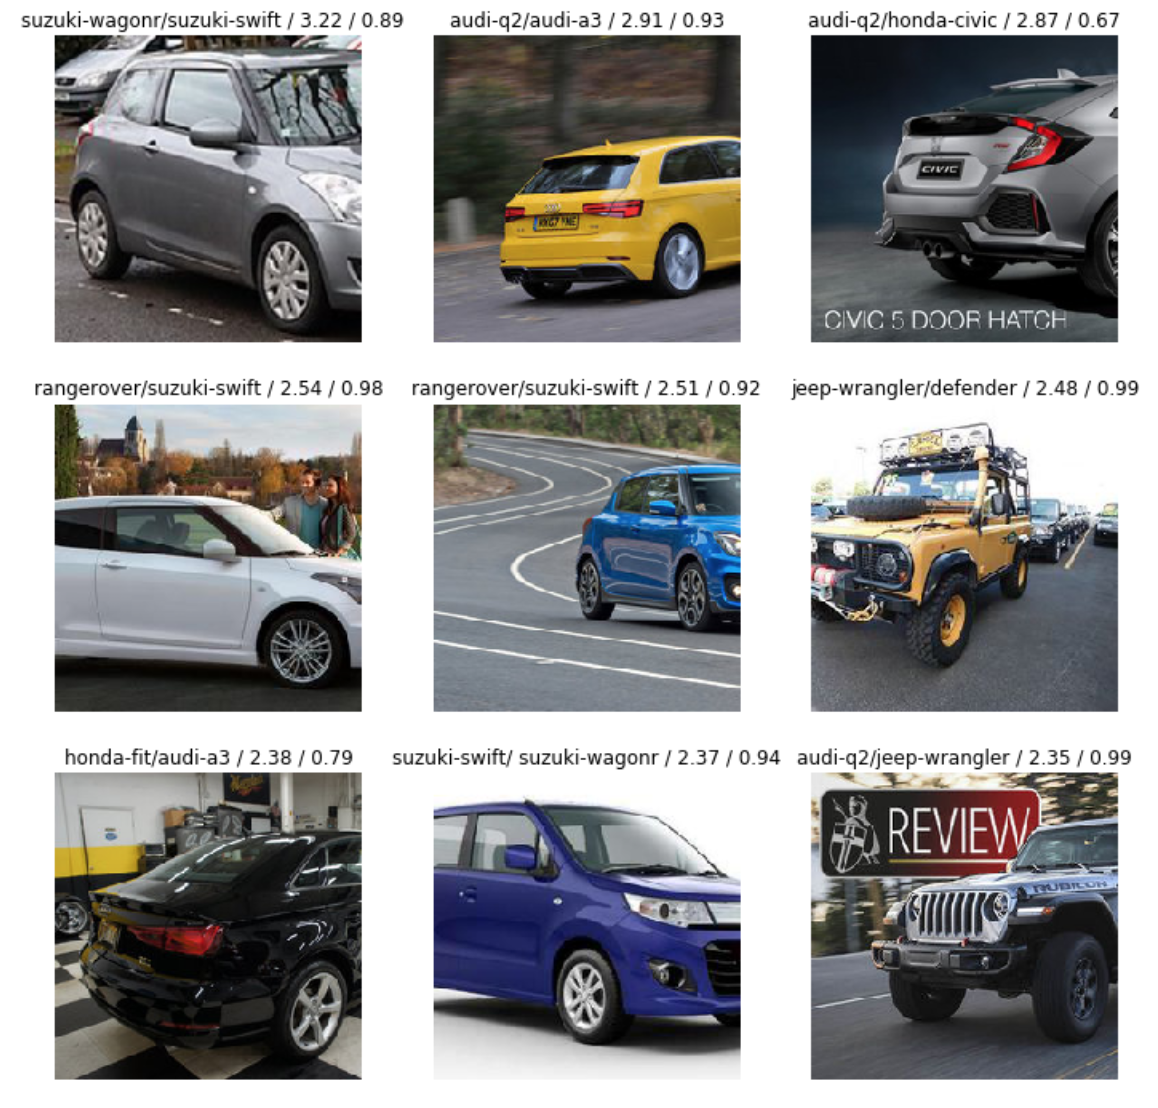
I think some of these errored images are not that easy to classify. As a overall fact, the classifier did a terrific job.
Nowadays, building an accurate classifier is not as difficult as it seems. It was just some code and using some common sense.
All these possible to the great work done by fast.ai and all the people who work hard to build these pre-trained models and libraries.